Make A Floral Chandelier!

I have a small eating area off the kitchen which I have been sprucing up by adding a small burgundy red settee, topping it with watercolour toss pillows in royal blues, pinks and burgundy colours. My wonderful round wood table together with an Asian cabinet fit in just perfectly and with the settee and a standing light fixture it looks and feels really cozy. But, I really, really did not like the light fixture over the table. For one, the design is darn ugly and utilitarian looking, secondly the lamping is so white (4100K - argh too much) it makes me feel like I am sitting in a cafeteria in a third world country. (Not that there is anything wrong with cafeterias in third world countries, but I don’t want that look and feeling when I am eating at home.)

COLOURS OF SETTEE PILLOWS TO BE REPEATED IN CHANDELIER DESIGN
I pondered this light fixture for a long time. Never lit it and instead used the space with candle light. However, the other day I was surfing the internet for something I cannot remember when I came across a wedding decorator. And, that gave me an idea for a chandelier to replace the ugly dining room fixture. I decided to make a floral chandelier. Here is what I did.
The Design


The original fixture has three removable prongs, which hold the glass bowl and which hook into a loop where the fixture meets the cover plate. This was actually super handy because I could attach anything to those prongs. The size of the original glass bowl is 16” in diameter. My plan was to replace that ugly bowl with another type of container to which I would attach artificial flowers and greenery. This would bring colour and texture to the space. I really did not need the fixture as a light fixture to illuminate the table anymore since the floor lamp gives just the right amount of light and makes the area cozy. This gave me some flexibility in terms of size. In the end the fixture is large enough for it to be used as a proper light fixture after all.
I initially set out to look for a wire bowl-like container as the base. I ordered a black wire fruit bowl from Amazon at first which turned out to be a tad small. Its diameter was 12” and I really wanted to get as close to 16” as I could. Then I found a second fruit bowl at a local kitchen store. This one was larger, around 14”, and chromed. Not exactly what I had in mind either, but I could work this one better. I decided to gift the Amazon fruit bowl.
After some research I actually choose to use a wreath as my base. It would be an easier project and I would have many more options for my base.
Great Wreath Options


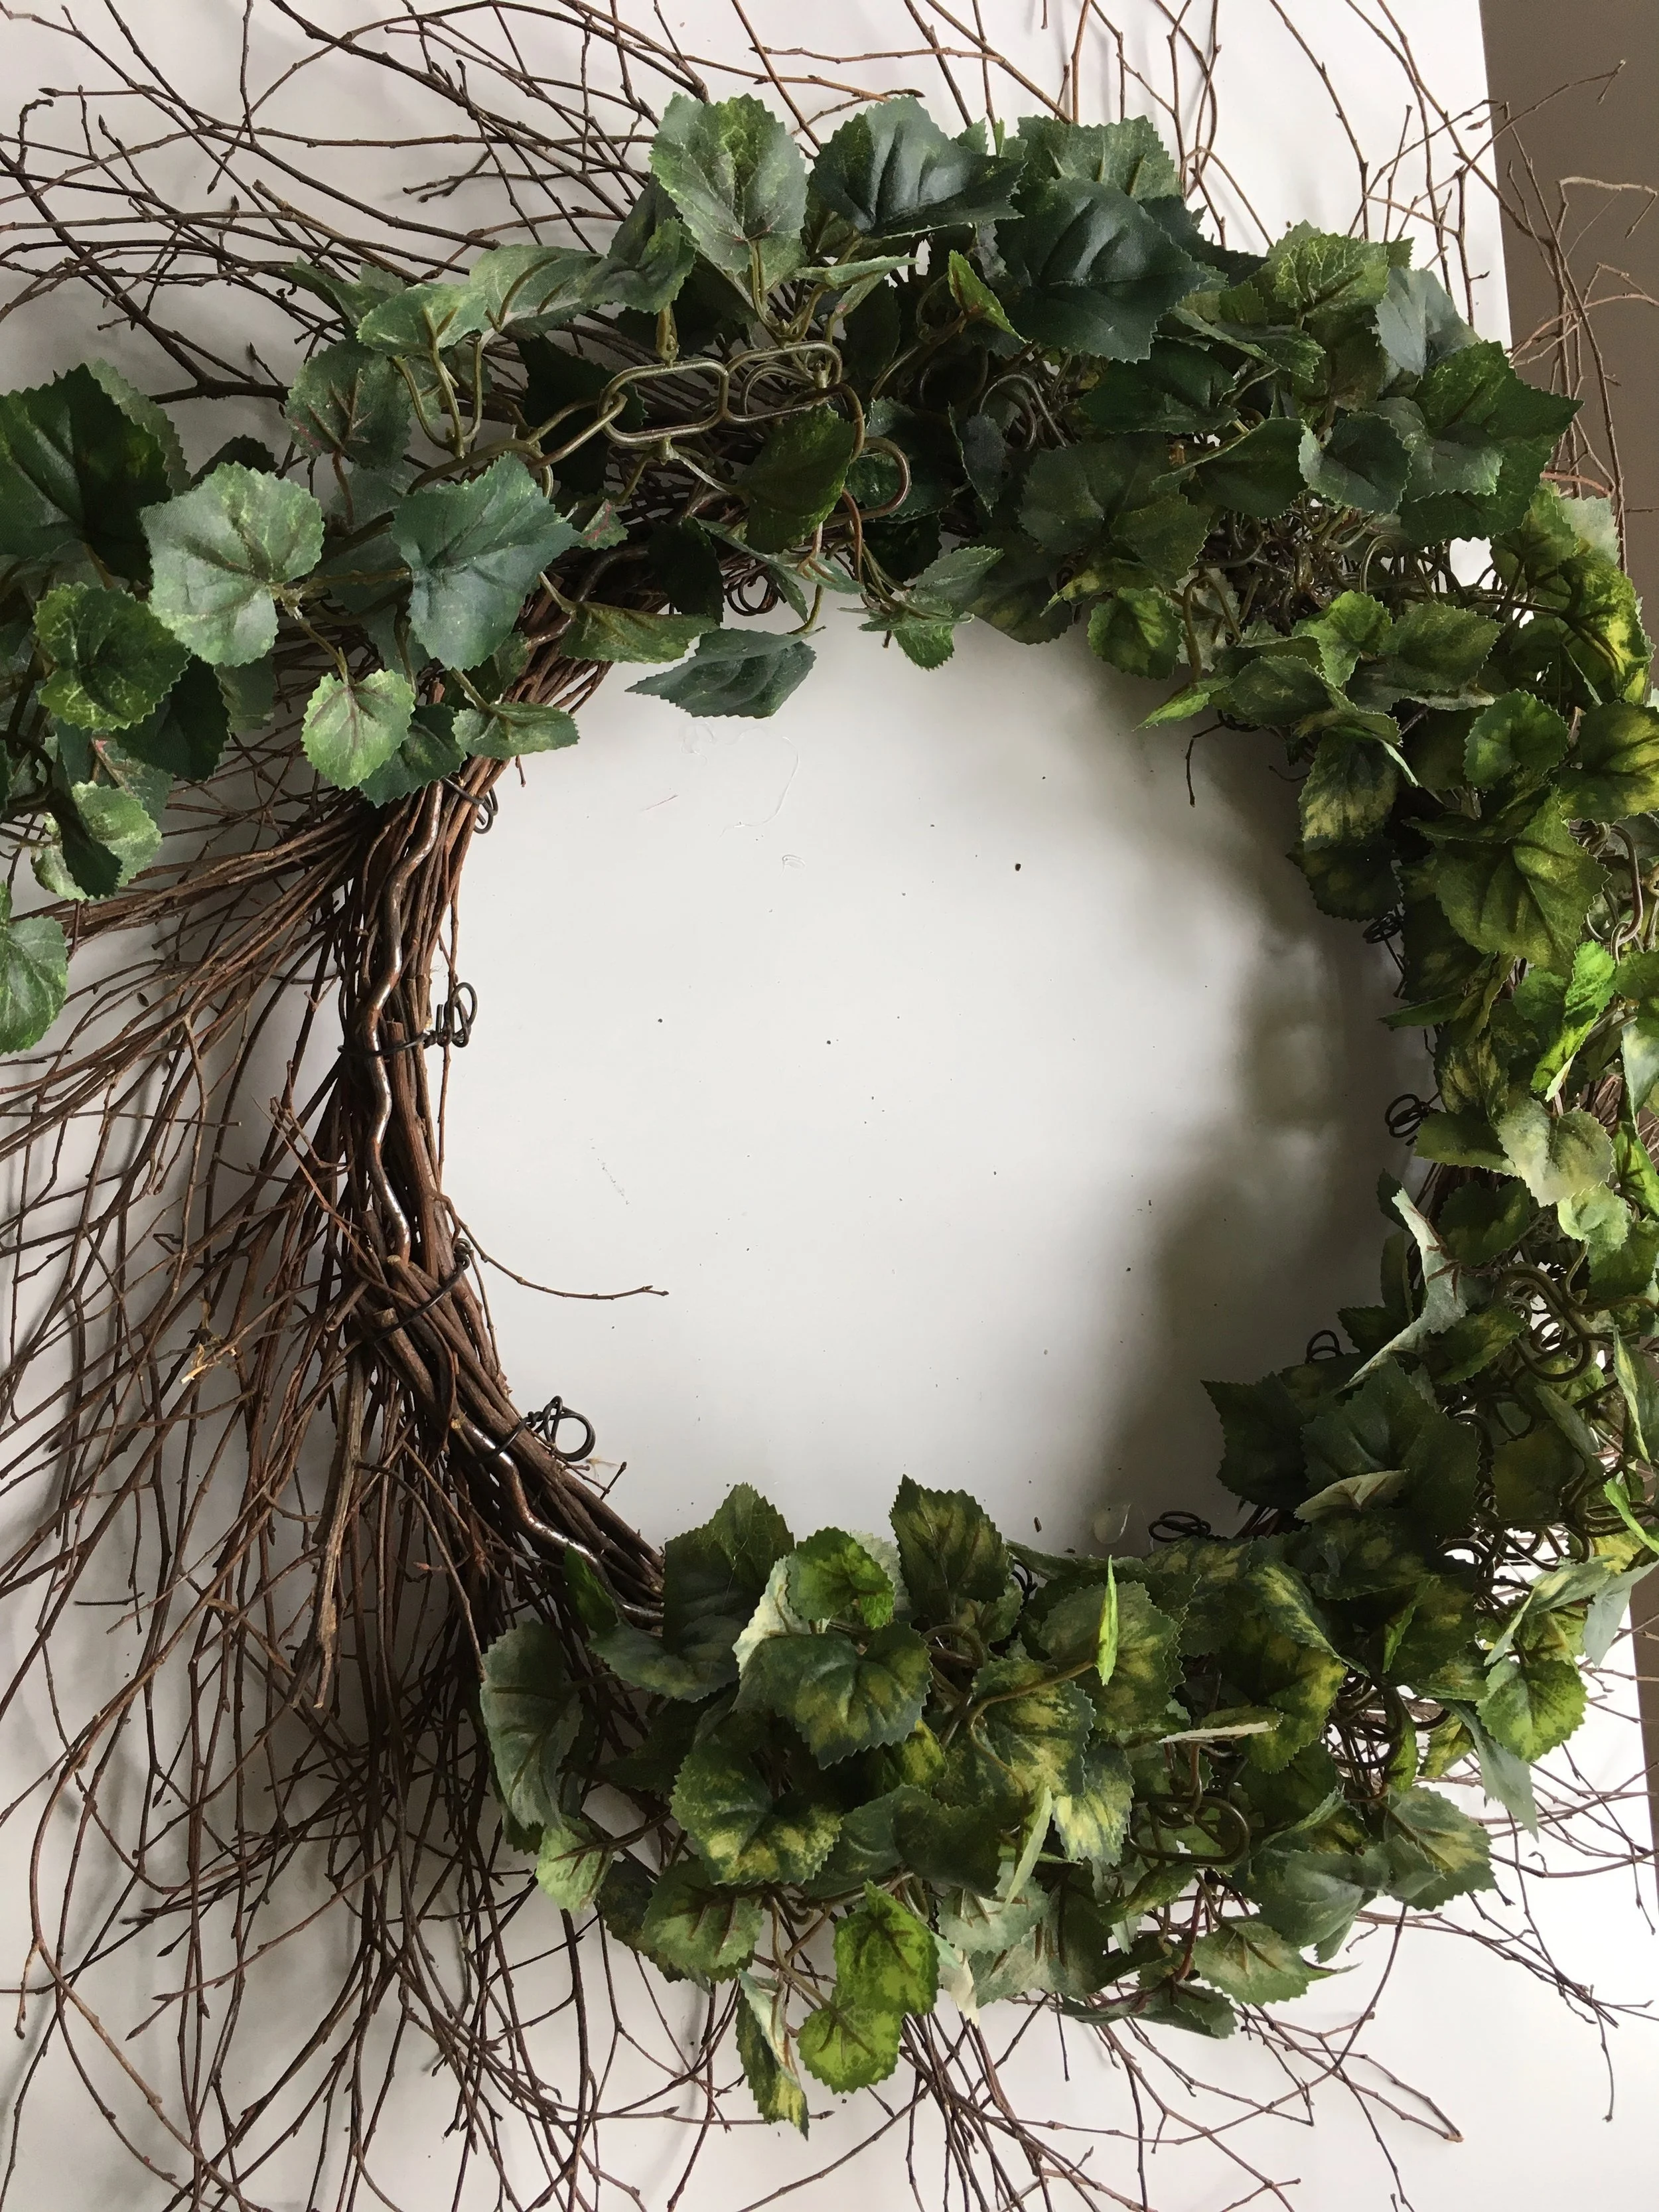
From idea to execution my time was limited. I wanted the fixture up for the dinner I had planned over the holidays. Time was of the essence! Now, we don’t have much choice in craft supplies where I live, so I ended up at Michaels. As I was browsing in their floral department I found all the flowers I needed! Yeah, that made me happy. Then, accidentally, I noticed these twig wreaths on the wall in a number of sizes. They looked really promising and interesting. There were several sizes available. I choose the larger one. The outside diameter is 28”, while the inside diameter (the critical one to clear the lamps and limit heat exposure) was 14” +/-. Bingo! I loved it right away.
Things You Need
Wreath Style I used


one round wire or twig wreath to form the base. You could also use a wire bowl or plant container without the Spanish moss. Just make sure it is not a solid plastic. You don’t want to set the fixture on fire due to heat exposure. The container has to vent and let air through. That means it also had to be open at the top!
5 feet of craft wiring (I actually applied wiring used in framing, but really any narrow wiring will do) to create a grid in the inside opening.
18 feet of ivy garland (three 6 footers); you can also use eucalyptus.
a variety of artificial flowers. I picked two xmas floral bouquets with each about 10 large flowers in two colours: white and deep aubergine, together with some greenery and white flower petals. I liked the colour combination because it would fit the look I was after and they were on sale at 50% off. Artificial flowers are not cheap. I was happy to get the discount! The flowers in the bouquet are roses, dahlias and white hydrangea. I also bought a stem with pink apple blossom and one with yellow miniature orchids. Lastly I got a bunch of prickly yellow balls that look like onion flowers, billy buttons…..
hot glue gun and some clear white glue sticks.
Greenery and Flowers I Used


Steps To Take
Step 1 - Place the twig wreath on a flat surface. Tie some wiring in a grid across the opening in the center. I did not do this at the onset, I only after I was done that I missed this step. I am including it here for your benefit. I will have to add my grid later.
A grid of four wires across is fine (tic-tac-toe style) . This will allow you to add some garlands or flowers and conceal the ugly fittings when looking up at the fixture. This grid needs to be a little lower than the actual wreath. Bend it a bit so it projects up from the opening itself when you are working on it, so any added material does not touch the lamps (or light bulbs!). Remember that the ‘top’ of your wreath becomes the ‘bottom’ of the light fixture once it is hanging! Again, you want to make sure there is no heat exposure through contact.
Step 2 - Arrange two six foot garlands on the wreath by placing the leaves really close together and on top of one another. Make sure you stay clear from the inside opening to ensure no greenery or flowers touch the light bulbs when all done. I can’t stress enough that you have to make sure there is no contact with heat from the lamps. I am quite sure that artificial flowers and greenery are flammable.
Step 3 - I do not recommend adding any greenery to the grid section you made in the inside opening just yet. It is better to do as a last step and the fixture is up. You then have a much better idea how to arrange any greenery and/or flowers in this part. You could have some greenery hanging down at a slightly lower level than the flowers on the wreath, or you may want to choose the same level as the wreath. I also recommend you add fewer greenery and/or flowers. The only goal is to conceal some of the lightbulbs. You still want to have light filter through.

Step 4 - Once you are happy with the arrangement start glueing down the greenery. I found this easy to do since I used the twig wreath and there were lots of points for adhering the garlands. If you are using a plain wire wreath I would suggest to add some burlap to the frame for added contact points. Having a bit of burlap show through can also be a great effect!
Step 5 - Cut the stems of the flowers to about 1/2 inch. I found that half an inch is enough to have plenty of surface to put lots of adhesive on and make contact with the garlands. If the stems are longer the flowers may project out too much; if the stem is too short adhering it to the garland is a bit harder.


Step 6 - Arrange the flowers in a way that is appealing to you, mixing styles and colours. I started with the large white and purple ones including the white hydrangeas and then added the pink apple blossom. I waited with the yellow orchids and billy buttons until all the others were glued in place. Once you are happy with the arrangement, glue each flower in place one by one following your layout.
Step 7 - Add any remaining smaller flowers (in my case the yellow orchids and billy buttons) to pop the colours and to add that final interesting element.
Step 8 - The wreath is done. Hang your fixture. In my case I attached the three prongs to the wreath by hooking them into the loops on the inside diameter of the opening. I then added additional garlands to these three prongs to hide the rather unsightly finish of them. If there is no easy way to attach the wreath to your fixture, fashion fasteners from wire and attach them to the top of the fixture. Cover the fasteners with the remaining garland.
Step 9 - Add greenery and/or flowers to the grid which now projects down from the inside opening. Not too many, just to hide the light bulbs and to let light filter through.
Step 10 - Et Voila! Step back and admire your creation. Invite someone for dinner and share the love…
Not hard to do. It just takes some effort and time. You can do it in one afternoon. To keep the costs down look for items on sale. I was rather surprised by the prices of artificial flowers. I had not used them for at least a decade… Well it was very obvious looking back at my sticker shock.
As always thank you so much for visiting.
Jessica